Add Cloud or Local/Network Storage
This chapter covers the following topics:
Supported Storage Providers:
- Amazon S3
- Microsoft Azure
- BackBlaze B2
- Google Cloud
- S3 Compatible
- Wasabi
- Minio
Add Cloud Storage
- Run MSP360 Backup for Windows.
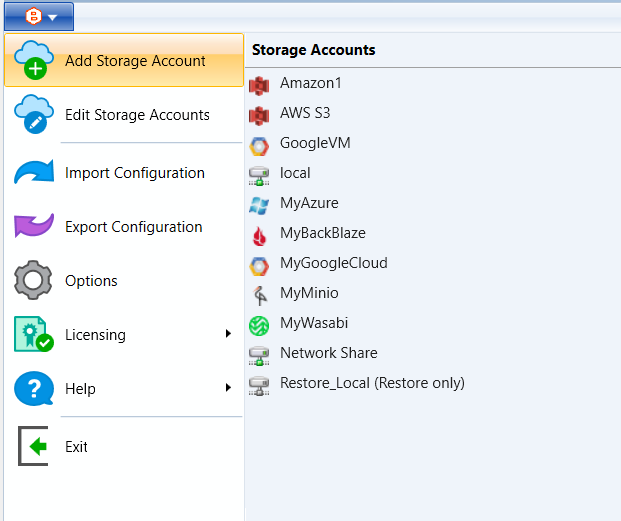
- Open the application menu, then click Add Storage Account.
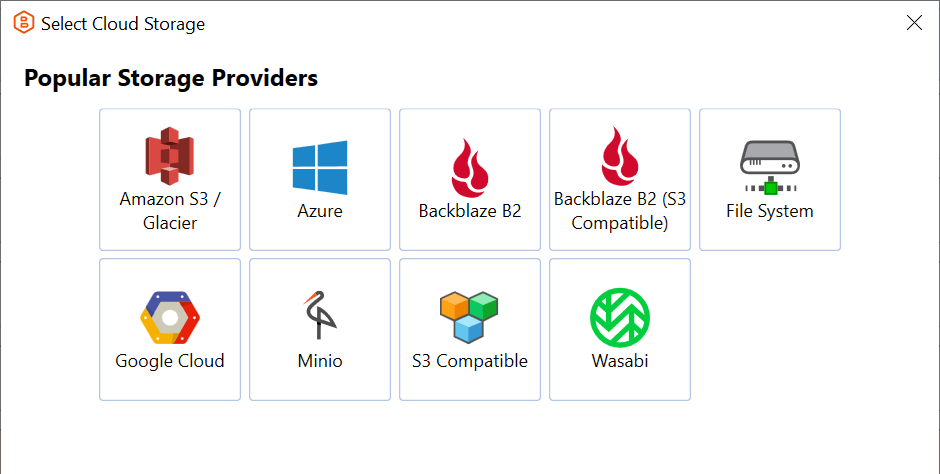
- In the Select Cloud Storage dialog box, select the storage provider. If you intend to use local storage or network share, select File System.
- In the dialog box, specify the backup storage display name and other required credentials, then select a bucket.
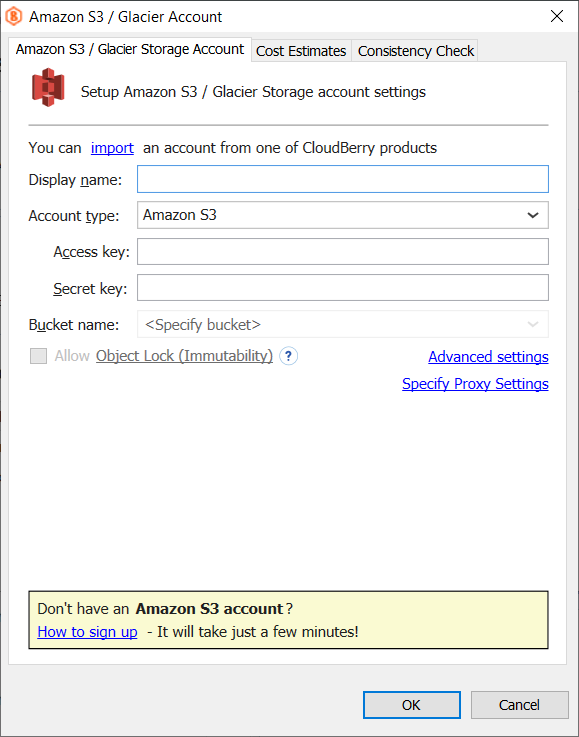
Note that your storage account must be granted with writing permissions
Note that for different storage providers the required field list may differ
- Once you are finished, click OK.
Specify Cost Estimates
For each cloud storage, you can set up usage cost settings. To do this, switch to the Cost Estimates tab.
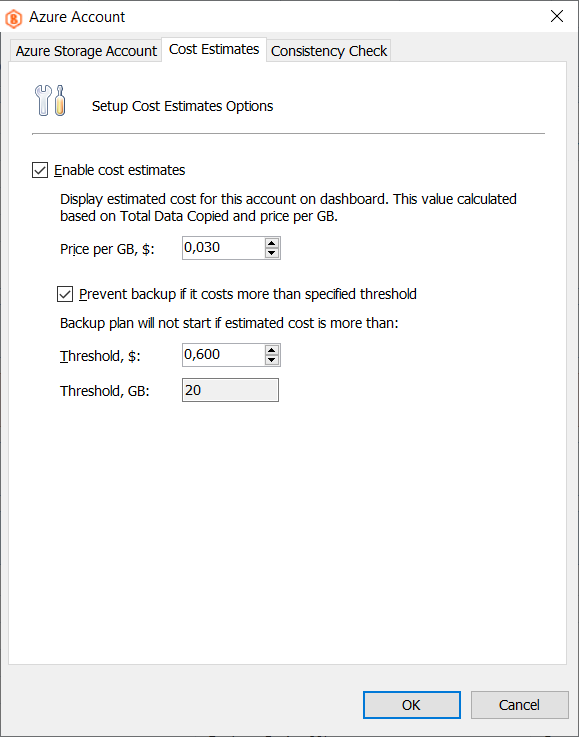
Select Enable Cost Estimates check box, then specify the storage cost in a Price for GB, $ field.
To set up a threshold for total expenses for this backup storage, select Prevent backup if it costs more than specified threshold check box, then in the Threshold, $ field specify the cost limit.
Once you are done, click OK.
Configure Storage Account Consistency Check
For each cloud storage, you can configure storage account consistency check plan. This step is optional. Once you are done, click OK.
Add Local Storage
- Open the application menu, then click then click Add Storage Account.
- In the Select Cloud Storage dialog box, select File System.
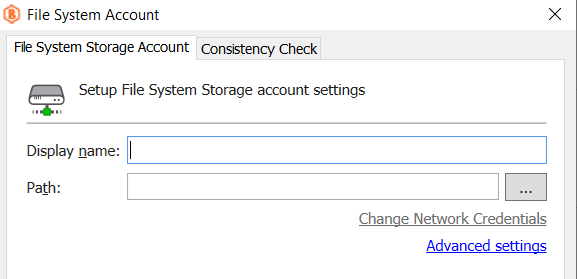
In the File System Storage Account dialog box, specify the storage name you want to be displayed in the Display Name field, and the path to storage in the Path field.
If a network source requires authentication, specify credentials in Change Network Credentials.

- To make sure you have entered the correct credentials, click Test. The application attempts to connect to your network storage.
- Once you are finished, click OK.
Advanced Settings
MSP360 Backup offers several advanced settings, connected to storage usage goals. To specify the advanced settings, edit the local or network storage. In the File System Account dialog box, click Advanced Settings.
The following settings are available:
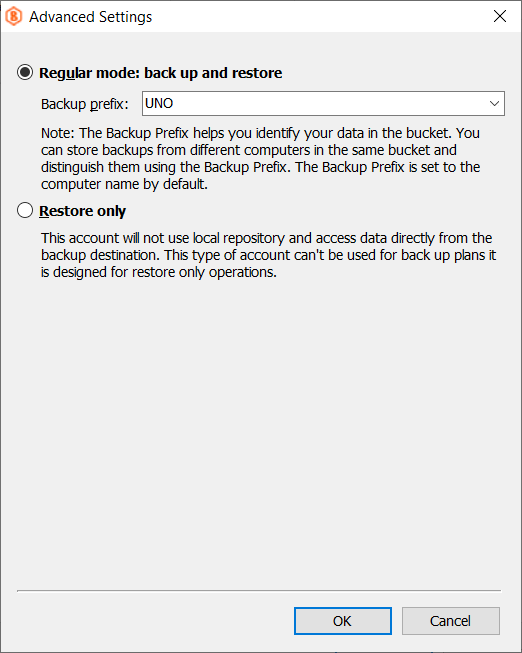
- Regular mode: back up and restore. Select this option if you plan to use this storage destination for both backup and restore jobs.
Select the backup prefix or specify a new one. The backup prefix is the name of a directory in a bucket you specified for this storage destination. By default, a backup prefix is your computer name.
Applies for the legacy backup format only.
Note that if you specify the same backup prefix as on the other computer that uses this bucket on backup storage, all backup data will be uploaded to this directory. This may lead to a situation when it will be hard to figure out the origin of backup data. To avoid the disorder in this bucket, it is not recommended to specify the same backup prefix for multiple instances using the same bucket and storage destination
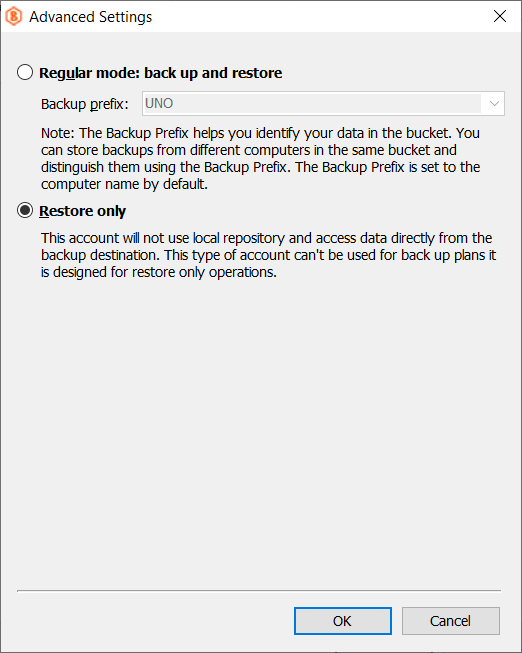
- Restore only. Select this option if you intend to this backup storage only for restore plans.
Once this option is selected, this storage destination will not be available for selection while creating backup plans
Proxy Settings
In case you use any firewalls or gateways, specify proxy settings.
To specify proxy settings, proceed as follows:
- In the storage account dialog box, click Specify Proxy settings.
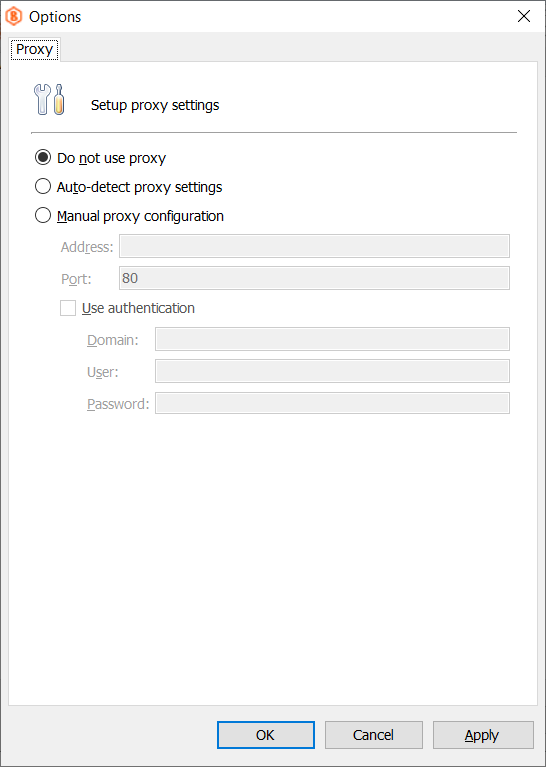
- Specify the firewall settings, then click OK.