Step 1. Create MS Exchange Backup Plan
The Exchange and Ultimate Editions of CloudBerry Backup for Windows feature native backup and restore of Microsoft Exchange Server. MS Exchange instances are detected automatically on a computer with the installed Backup for Windows instance. Users can make selections of MS Exchange databases to back up in order to reduce backup size.
This chapter covers the following topics:
Create MS Exchange Backup Plan
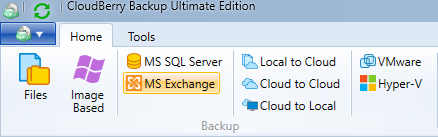
- Open Backup for Windows.
- In the ribbon menu, click MS Exchange.

Specify Backup Destinations
Specify Backup Plan Type
On the first backup wizard step, select the backup type for your backup plan. The following options are available:
- Local or Cloud Backup. Select this option to back up MS Exchange data to the local or the cloud storage
- Hybrid Backup. Select this option to back up MS Exchange data to local storage first with subsequent backup to another (cloud or network share) storage
Click Next.
Specify Backup Destinations
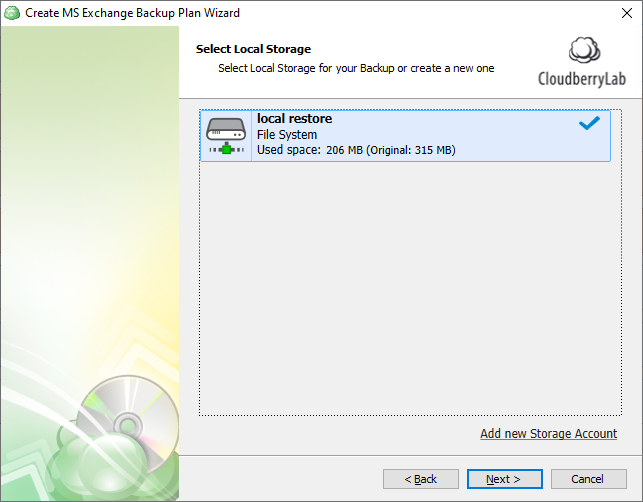
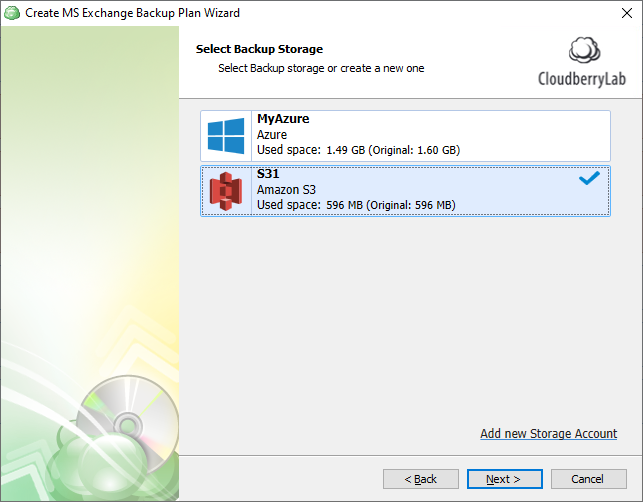
If you selected the Hybrid Backup type, first specify the local storage that will be used as the destination for a local backup. Click Next, then select the cloud storage for the backup plan.
If you selected the Local or Cloud Backup type, specify the cloud storage for the backup plan. In case you want to use a new storage destination, click Add new storage account.
Click Next to proceed to the Plan Name step.